You should never look at a solar eclipse directly, but building a simple eclipse viewer is easy. It’s also a fun project to do with your kids.
Step 1. Get a long box.
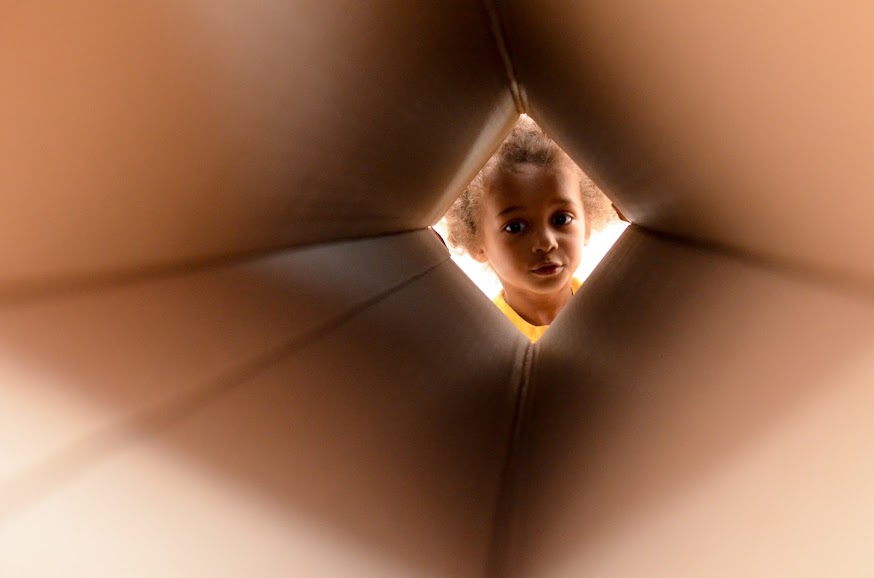
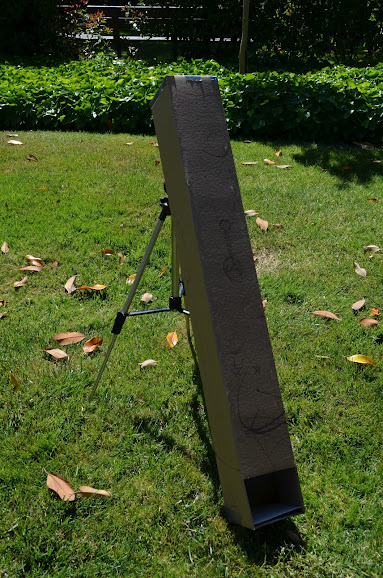
I got a really long square box from the UPS store for ~$10. The longer the better – the more distance between the end pointed at the sun and the viewing end, the larger the image of the sun will be.
By the way, this picture is just showing off how long the box is – you won’t actually be looking through the box when we’re done.
Step 2. Decorate the box.
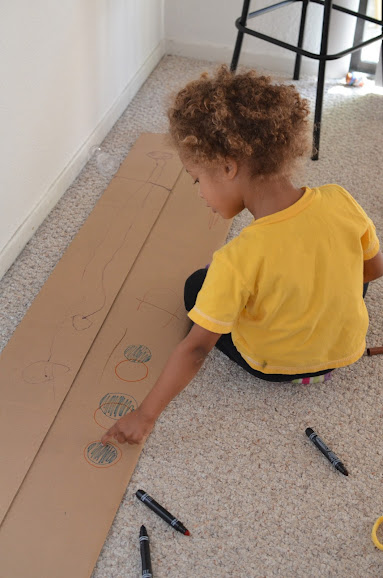
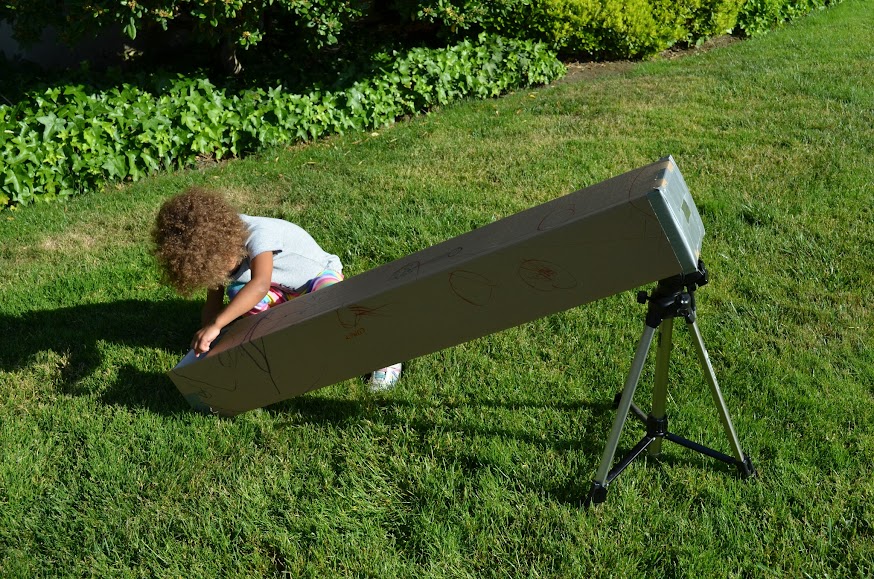
This might be the most important part of the project if you’re doing it with kids. Kids love to draw planets, comets, rocket ships, and all sorts of fun things. This is also a good place to illustrate exactly what’s going on when the sun starts to disappear.
Step 3. Close the box and cut a hole in one end.
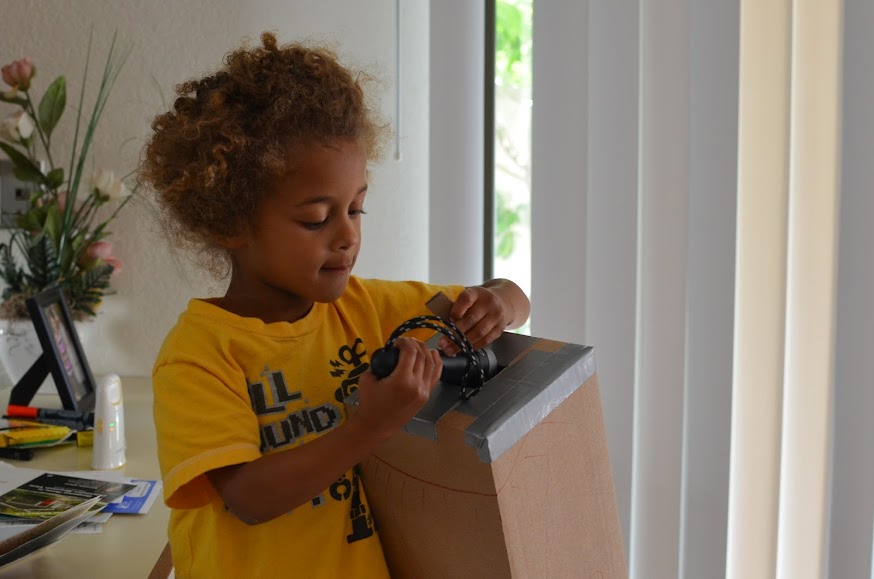
This end will be pointed toward the sun.
Step 4. Cover the hole with foil and put a tiny pinprick in the middle.
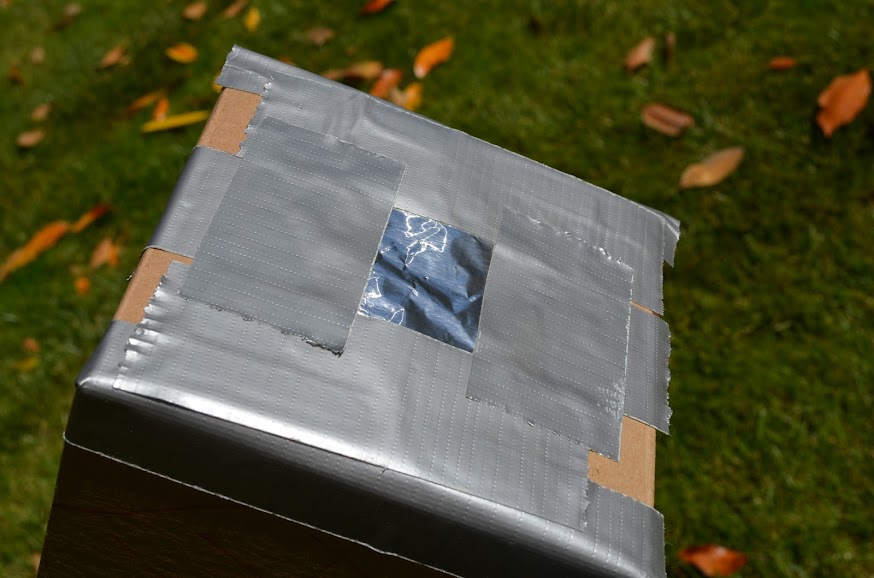
You want to block out all the light except the pin prick. It will cast an image of the sun on the other end of the box.
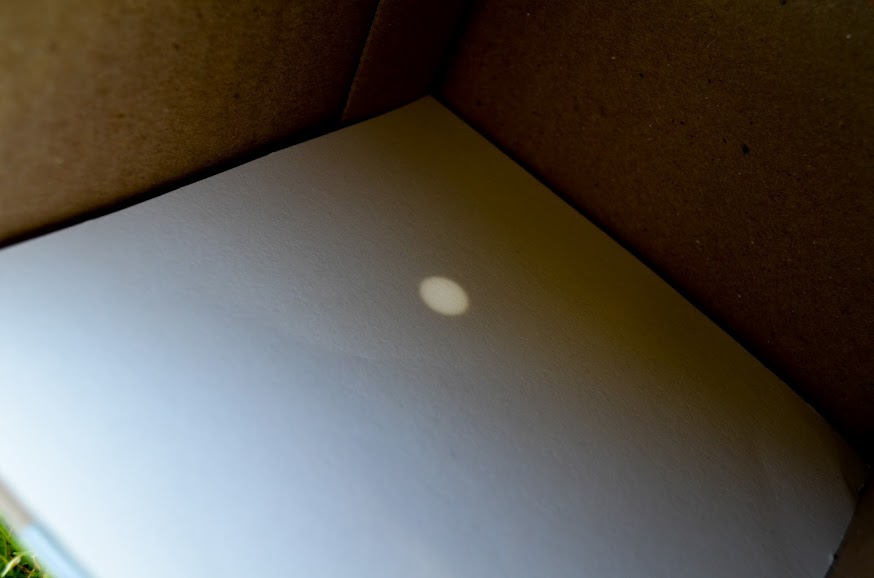
Step 5. Cut open a small section of the side near the bottom.
The picture illustrates this pretty well. You want a small section open so you can see the image in the bottom of the box. I also put a piece of white paper in the bottom, that shows off the image better than cardboard:
You’ll need to find something to use to prop up the box and aim it toward the sun. I used a tripod, but a chair will work as well. You’ll need to keep moving the viewer as the day goes on to keep the image in place.
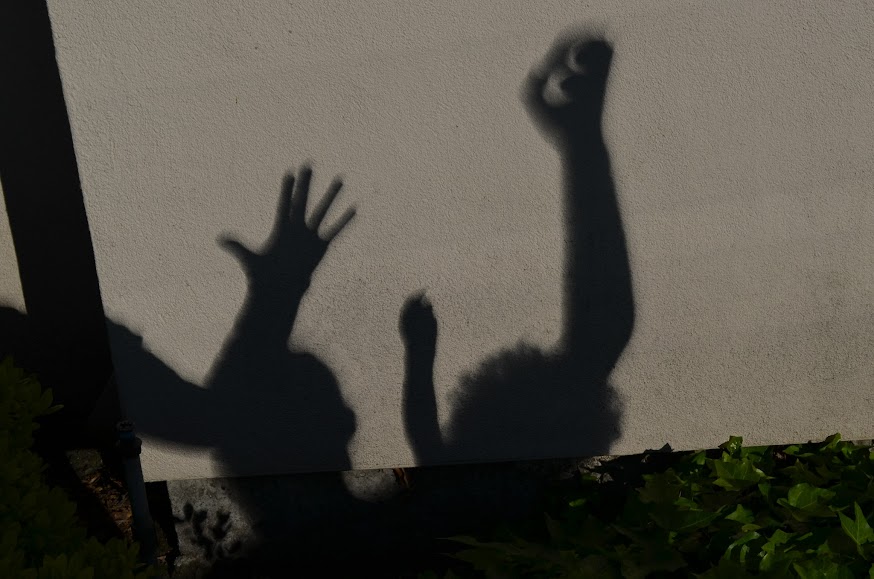
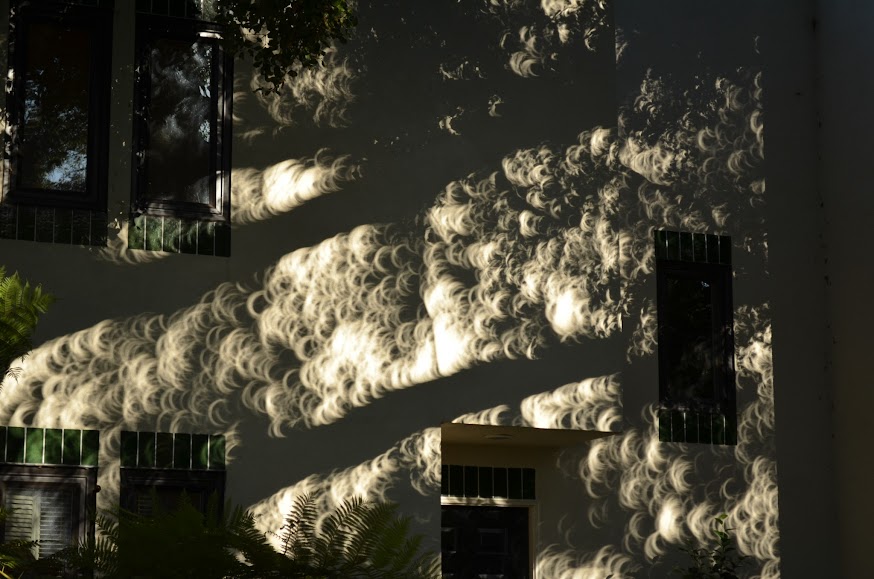
Caught in an eclipse without a viewer? No worries! Anything with a hole in it that can cast a shadow will show the eclipse – even your fingers or the leaves on the trees!
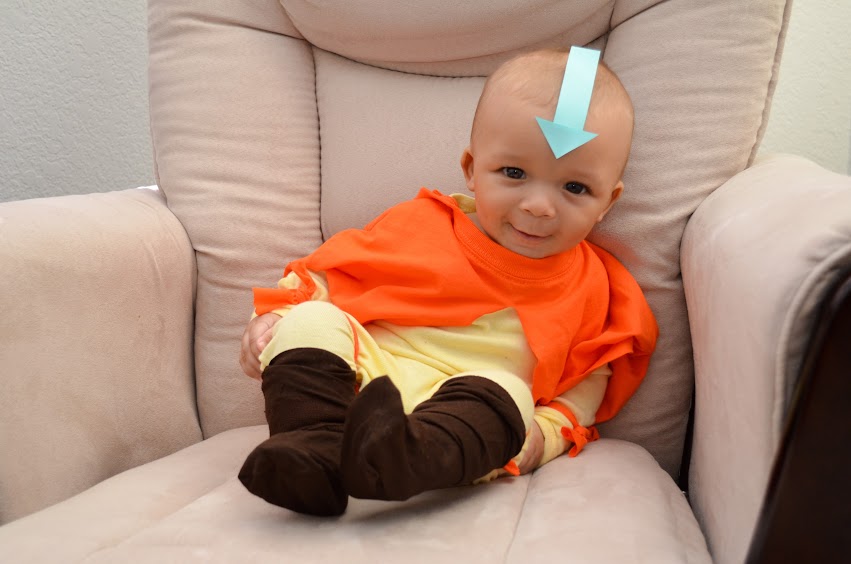
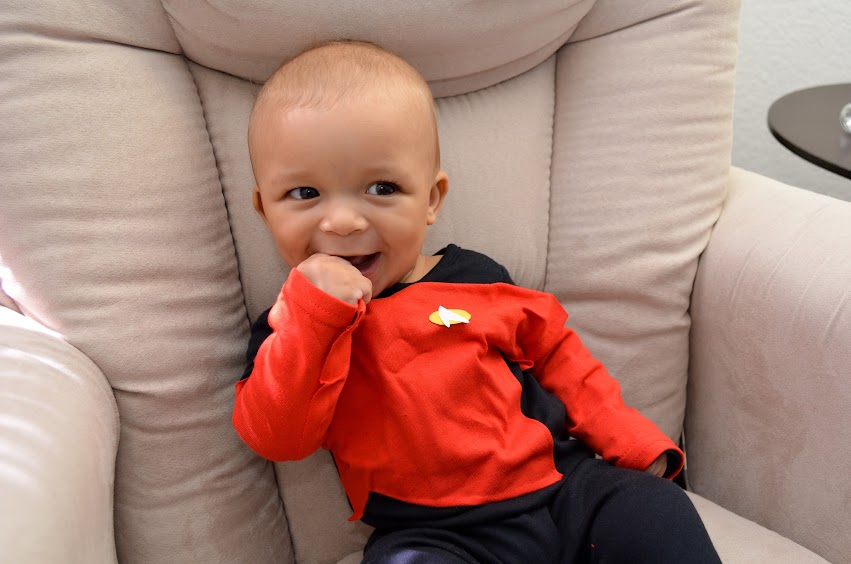
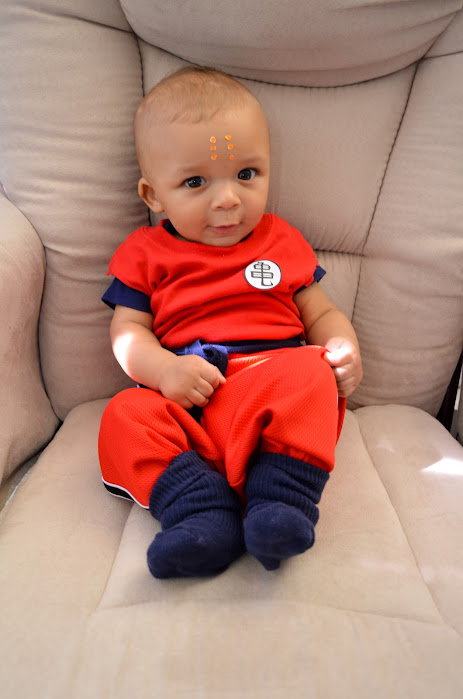
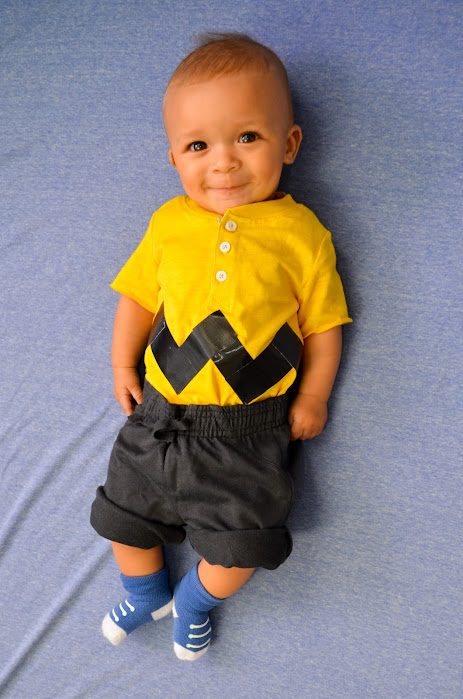
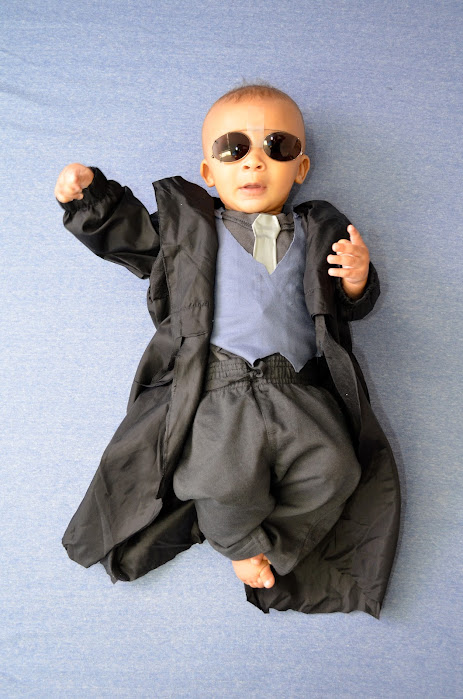
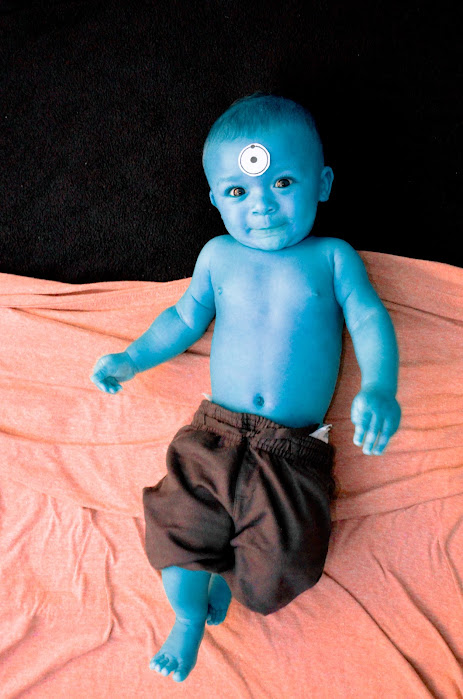
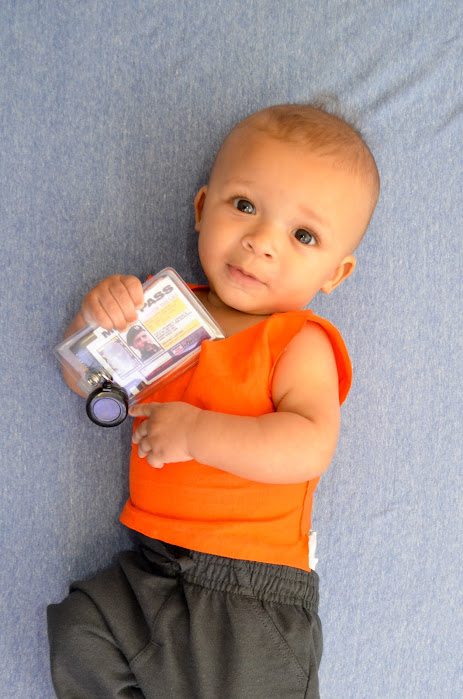
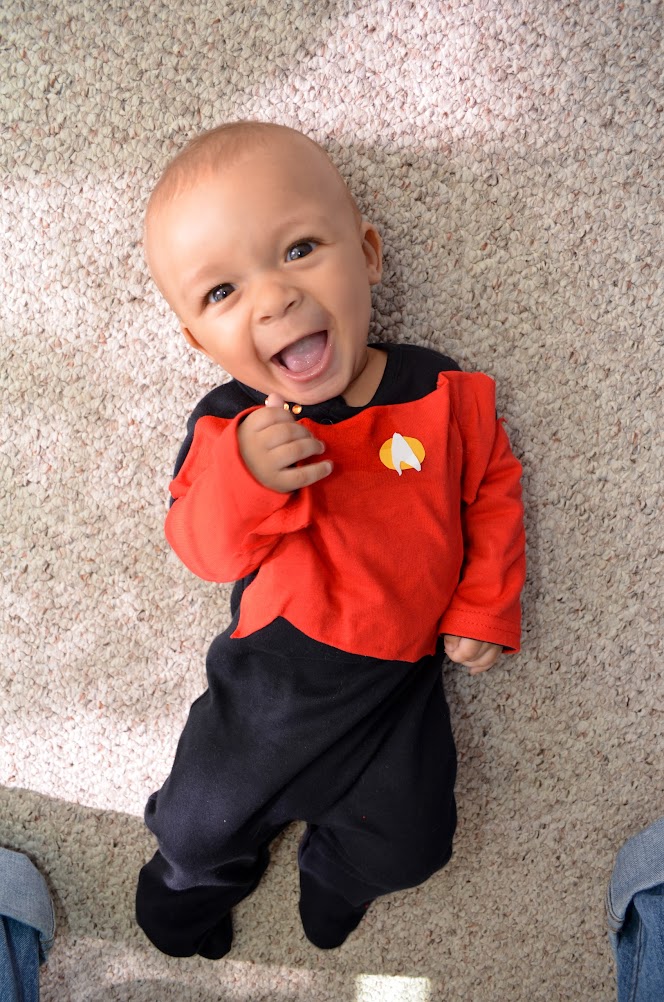 I’m on paternity leave with my 5-month-old, Finn. Halloween is coming soon, and while thinking about costumes I noticed that Finn’s hair was starting to fill in. I realized that this was my last chance to take advantage of his relative baldness for costume purposes.